Many people comment on certain photographers having an eye for taking good pictures. In part, that is the skill and experience you are seeing. Another part is expressing art with an understanding of some basic rules. Of course, like any artist, you can take some great shots that ‘break’ all the rules. However, it is safe to say that taking into consideration the following six items will help improve the quality of your pictures and create more interesting images with these Photography Composition Tips.
Keep it Simple (KISS)
Think to yourself, “What am I taking a picture of?” and keep that in mind. Identifying the subject of interest and avoiding distracting backgrounds will help to keep the picture clear. Zoom in to clear out irrelevant parts of the scene and capture what you’re looking for, avoiding objects like signs, buildings or people that take the viewer’s eye away from the point of focus. An example is taking a picture of a crowd of protestors – a busy image where the eye needs help figuring out what should take its focus. Zooming in on one protestor, in particular, clearly defines what should command the viewer’s attention.
Rule of Thirds
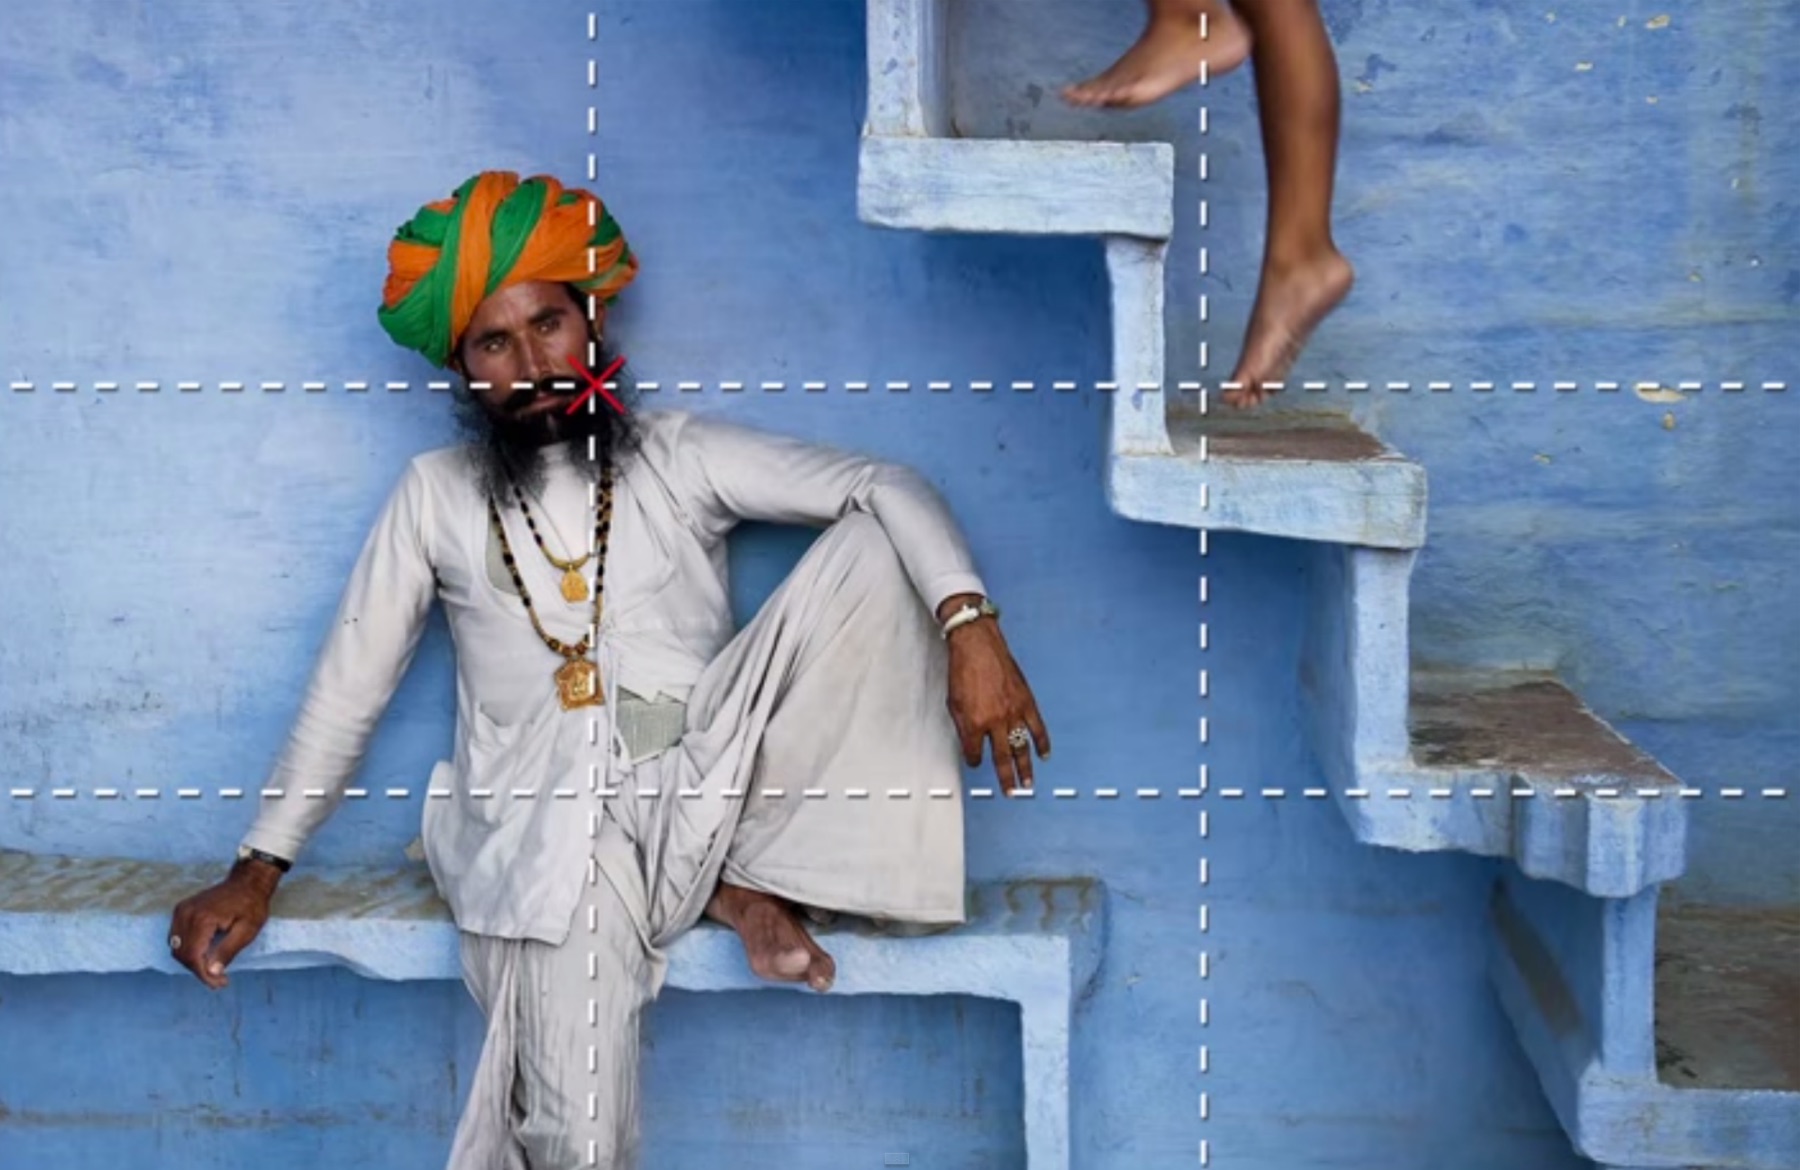
Picture a tic tac toe board: two horizontal lines intersected by two vertical lines. This creates an easy formula – line up the horizon of the shot with either of the two horizontal lines and line up the subject (either a person, building or the focus of your picture) with either of the vertical lines, ideally where the lines intersect. When viewing a scene, try to overlay this map into the viewfinder – with only a little adjustment, you can quickly create more visually interesting images by simply adjusting (or cropping after the fact) what you see to line up with these invisible markers. When dealing with a moving subject or a person, it’s often preferable to have them looking or moving ‘into’ the picture from one of the two sides.

Lines and Shapes
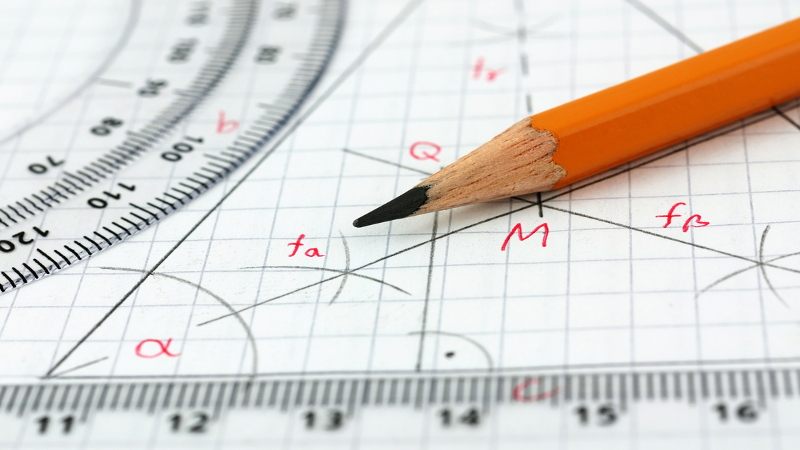
We all remember our geometry classes, dominated by circles, triangles, and snake-like curves. Applying these simple shapes to your subject matter can help to simplify complex scenes and add visual interest. Consider trying to capture an image of a person walking down a long, straight street. Instead of shooting straight down the line, move five or ten feet to the side and shoot that road at an angle – having that line crossing through the intersecting lines of the imaginary tic tac toe board from the rule of thirds can create the illusion of movement as they lead the eye through the picture. S-curves are even more dynamic, while repetitive lines can also create a movement of the eye through the picture, like repeating waves of sand on a beach or parallel row houses along the side of a road.
Vantage Point
Most amateur photographers take images at eye level, which means they capture most of these pictures from the narrow range of 5 to 6 feet in height. Taking a picture from a lower vantage point (for example, crouching or even lying on the ground) can add grandeur and significance to the subject while getting more height (climbing up a tree, fence or steps) will reduce the subject’s significance in your scene. Examples of using this could be taking a picture of your children playing, looking from the ground, or capturing a busy marketplace scene where no one person would stand out over another.


