The most important thing to understand about photography, whether it’s digital or film, is that it’s all about capturing light. So by understanding how different light affects your picture, you can significantly change the way your pictures turn out. Ideally, whenever possible, ensure that there is enough ambient light – the light that is already available whether it’s natural sunlight outdoors or indoor light fixtures. The more that is available, the easier it will be to take a picture without having to be concerned with aperture, shutter speed, or flashes.
Indoor Photos
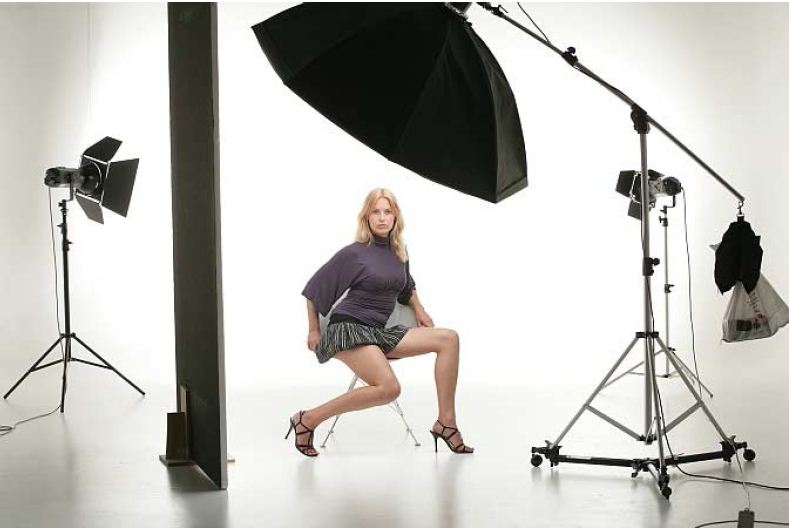
The most obvious area where this isn’t always possible is indoors. No ceiling light or table lamp can be as bright as the sun, so you will almost always have to add more light with a flash. Most professional photographers prefer to have more control over the lighting so they will use a variety of stronger lights to help them. By adding more light to an indoor scene, you can avoid the need for a camera flash, which can be distracting to the subject, particularly when you are trying to capture unposed or natural shots.
Flash
When it isn’t practical to add more light to an indoor or low-light scene, you can often rely on a flash to help add to the available light. A common mistake with a flash, however, is to misunderstand the reach of the resulting light. Most portable cameras can only light up a subject within an average of 10 to 15 feet – so, if the subject of the photo is further away than that, then either move closer or look for an alternate light source or option. Professional photographers will often use an external flash, which can be synchronized with the camera like a built-in flash, but can be much brighter, as well as having the ability to position it separately from the camera itself.
Camera adjustments
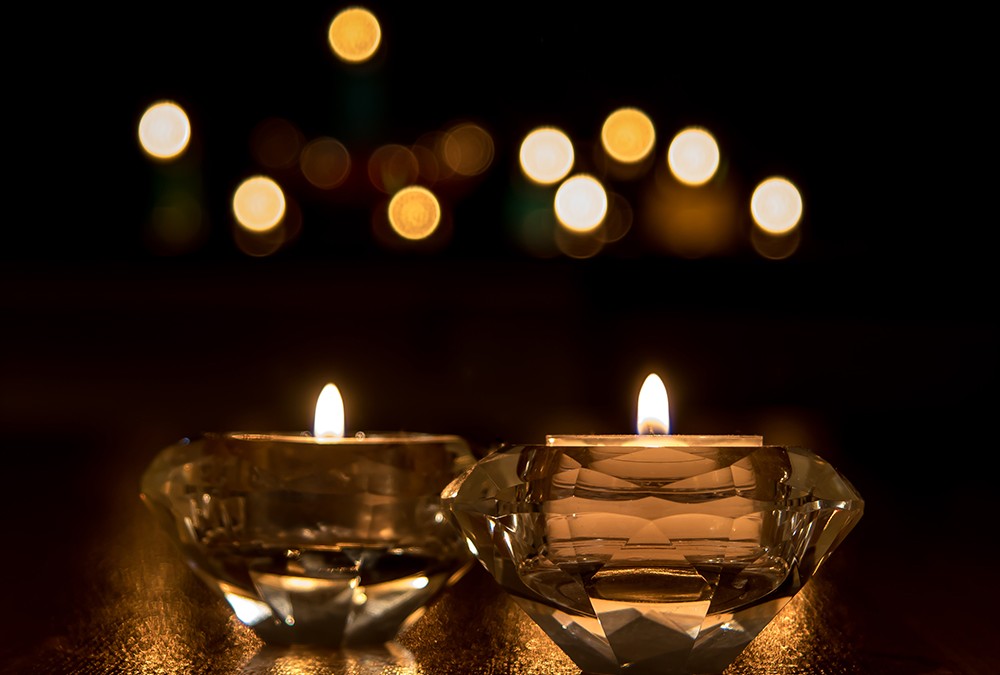
Where lighting is less than optimum, you also have several options at your disposal if your camera provides more manual control over its functions. Many of these options simply allow for more light to enter the camera (more depth into these features is discussed on the next page covering advanced techniques). By adjusting the aperture, you can widen the lens opening to let more light in at one time into the camera, thereby making more of the existing light in than you would otherwise. You can also adjust the shutter speed – by using a longer shutter speed, you allow more time for the available light to enter, however, the disadvantage of doing this is that your shots are more prone to camera shake and blurring, so be aware and mount the camera on a flat surface or use a tripod. Many cameras also offer the ability to adjust the exposure which can help to compensate for having either too much or too little light available. A more dramatic example of these kinds of adjustments is with night shots, where photographers will often use a combination of all three, sometimes with shutter speeds of 20 seconds or longer, to effectively capture nighttime traffic, starry galaxies, or unique images of popular monuments.
Controlled Lighting
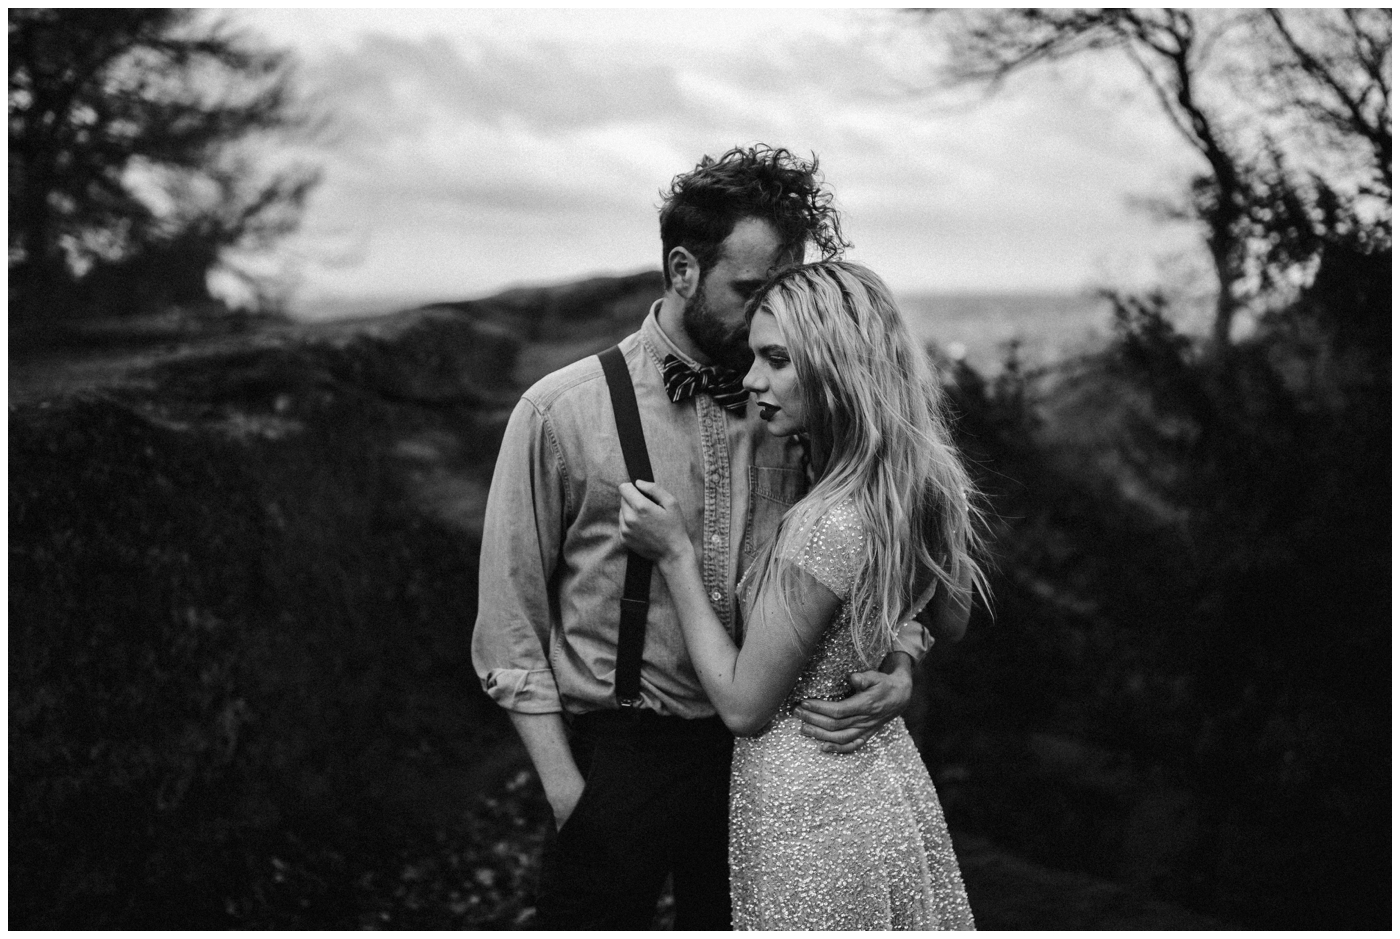
As you become more comfortable with lighting, you can change the feeling of a photo by controlling the way the light hits different parts of the scene or subject. For example, having the light hit the side of a subject can add more contrast between facial features and shadows, making for a more dramatic pose. Having the light behind a subject can allow the background to be lit while the foreground is dark, which can completely change the mood of the photo. If you want to ensure that everything in your photo is visible, then try and ensure that the indoor or outdoor light is hitting from the front for the evenest view of the scene. Many studio photographers will use a variety of techniques, including multiple light sources and bouncing a flash off of a ceiling or object, to further control the lighting of portraits and other staged scenes.


